As soon as spring came, I started on the prep work for my shed. I decided I was going to build it, because I may be a little crazy but am fully determined. I always wanted a project like this, what was I thinking?
*Note: I did a LOT of things wrong on this shed, but hey, I’m an amateur.
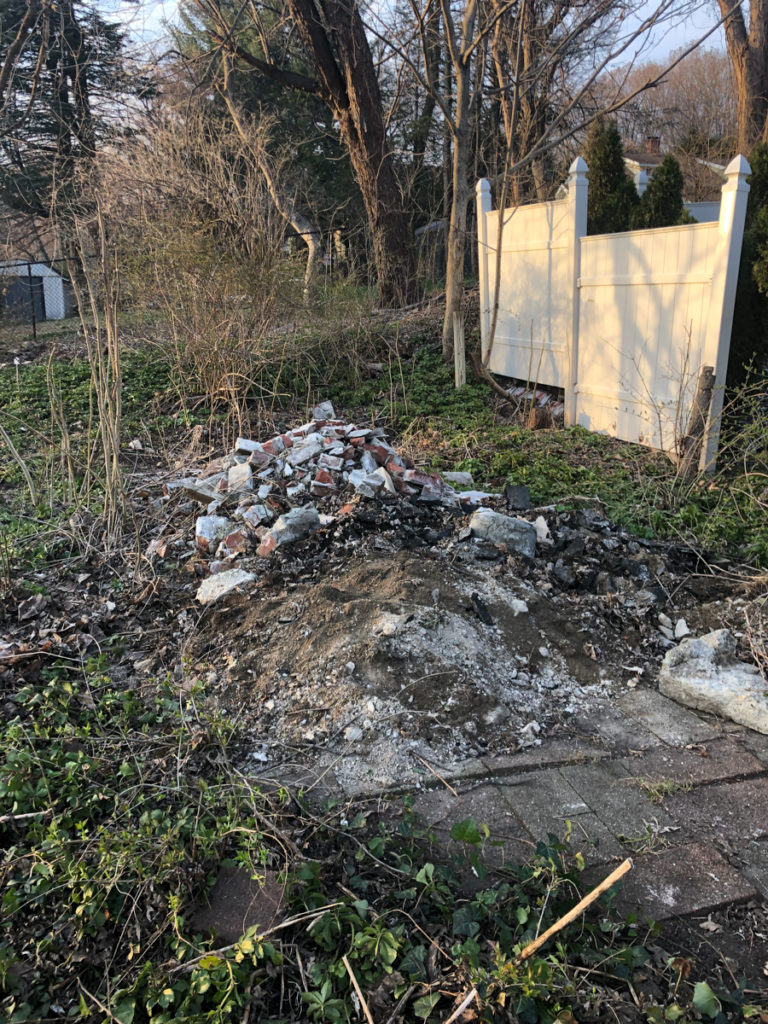
The area I scoped out for it was an overgrown mess and had a little patio with an outdoor brick oven that was left for neglect. I discovered the patio when I cleaned the area our first year we moved in, covered in a few inches of dirt. Karla and I decided to knock down that brick oven last spring which left us with quite the ugly mound of rubble. So, as soon as the weather changed, I rented the dumpster and went at it, brick by brick to clear away what has become our “landfill.”

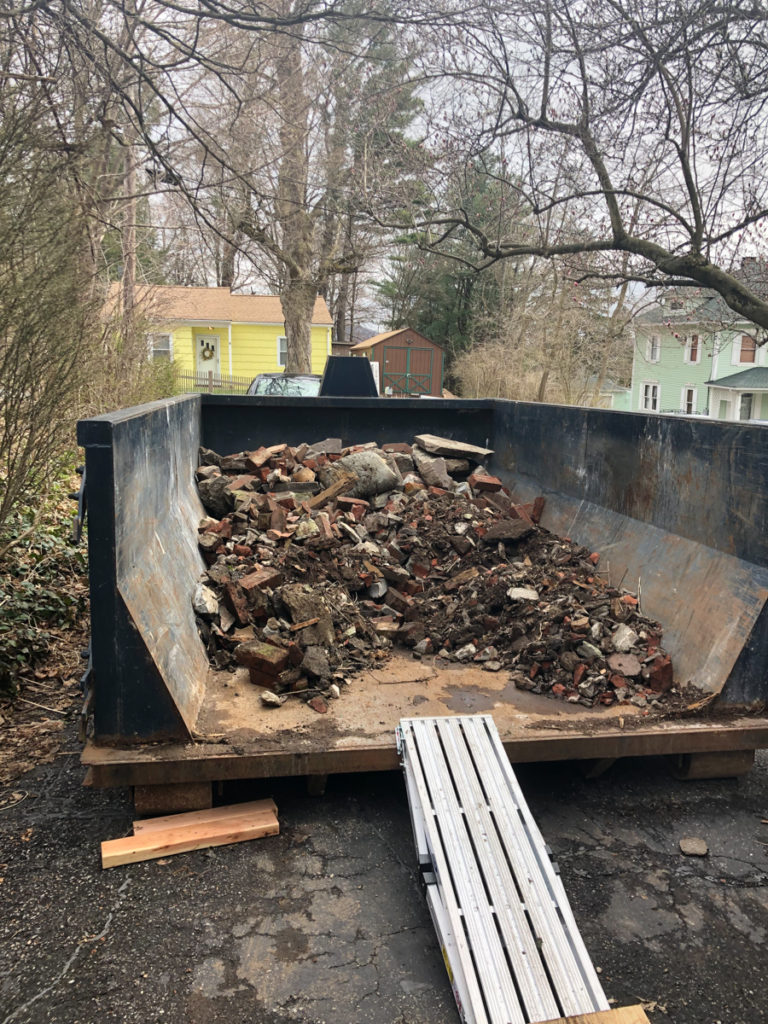
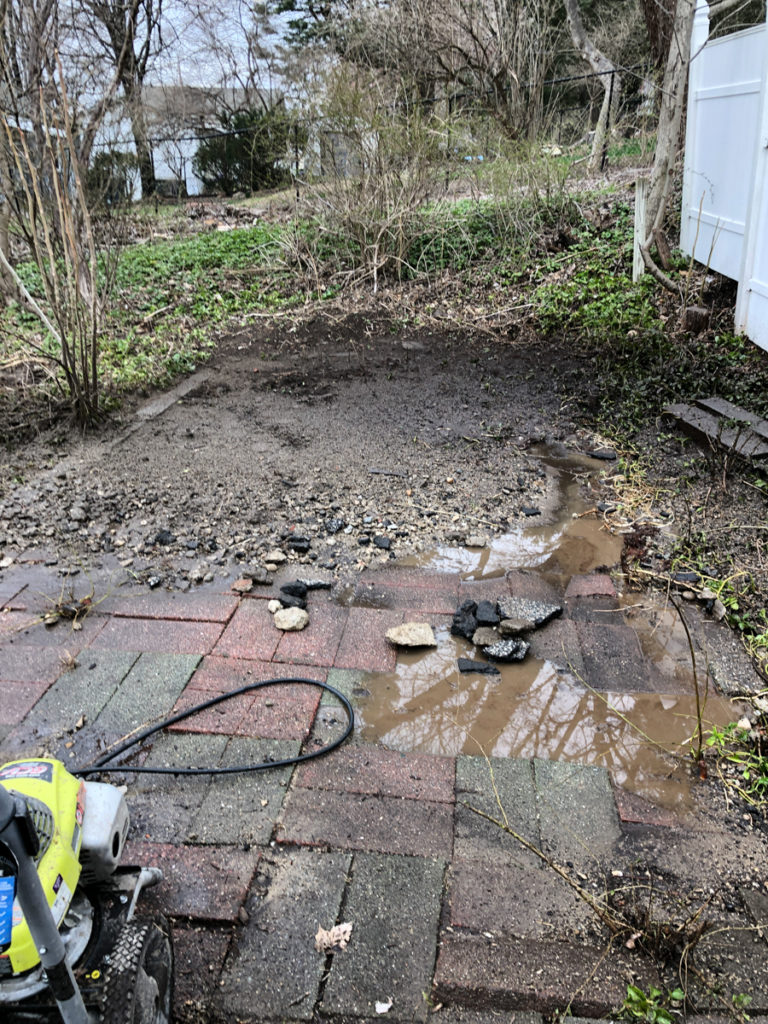
That was a lot of work. One woman, one wheel barrow. Luckily our kind neighbor came to help me speed up the clearing process.
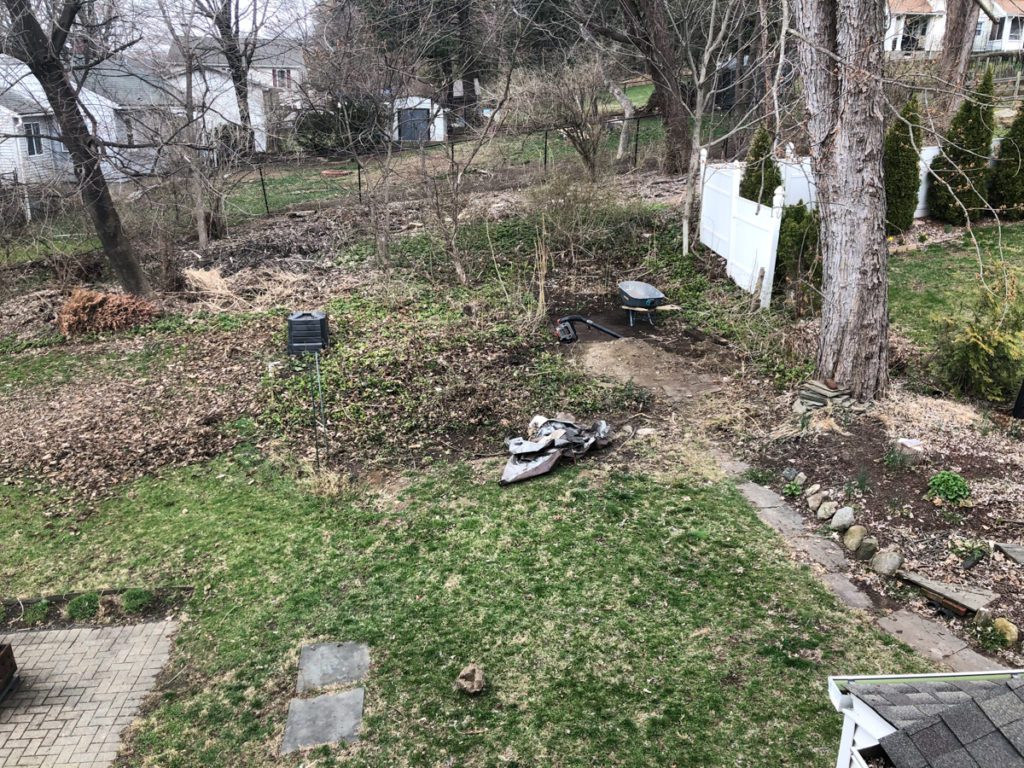
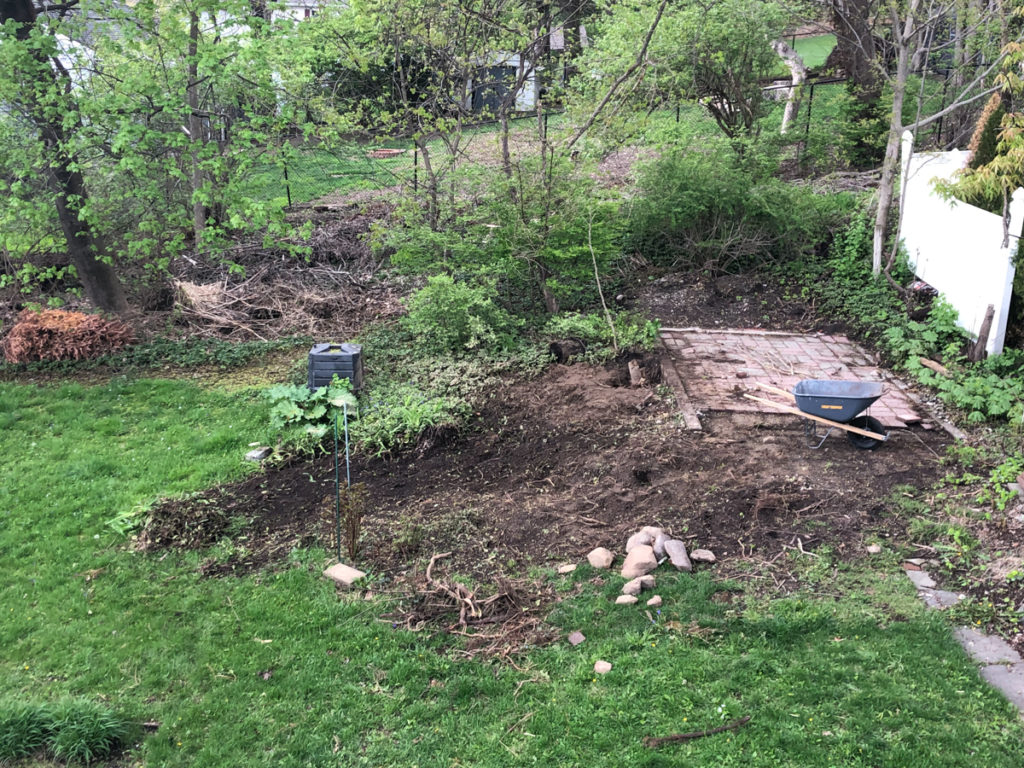
After that was clear, I had to take apart the patio stones and get to work on digging away tree roots, a whole lotta pachysandra, and try to level this thing out. I did contact Call Before You Dig when starting this project, they gave me the okay for the area I was working in.
That was a lot of work. One woman, one wheel barrow, a pickaxe, shovel and some stubborn roots.
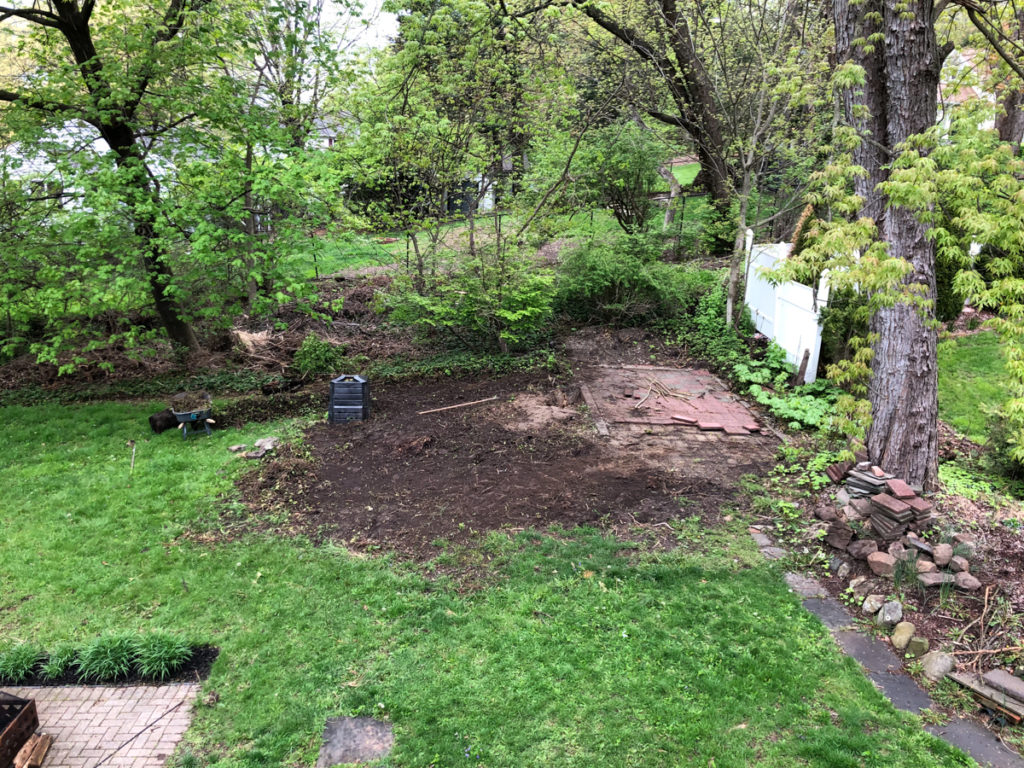
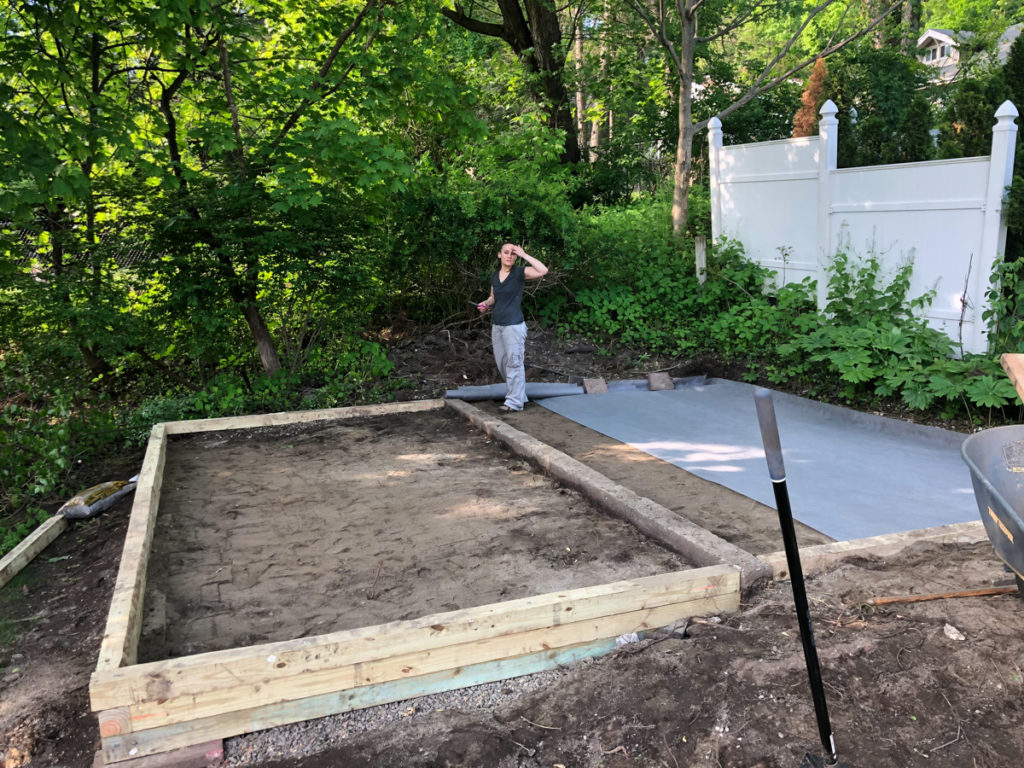
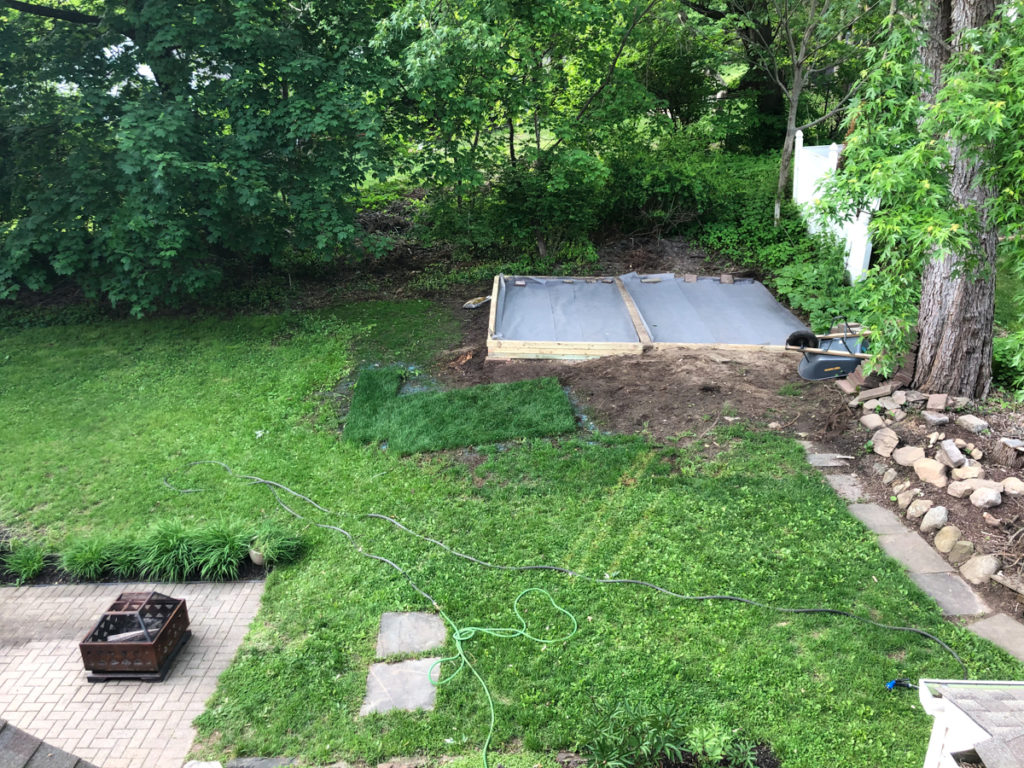
Alas, we got it cleared. So to build the retaining wall to level it out with gravel. Now, I definitely suggest using 6x6s, but I can only handle carrying so much so I went with 4x4s. The shed I decided on was going to be 12×16. I needed an area big enough for that. In hindsight, I should have made the gravel pad a lot bigger, because the slope of the hill it would have given me a bit more of a level pad to work on the shed with ladders.
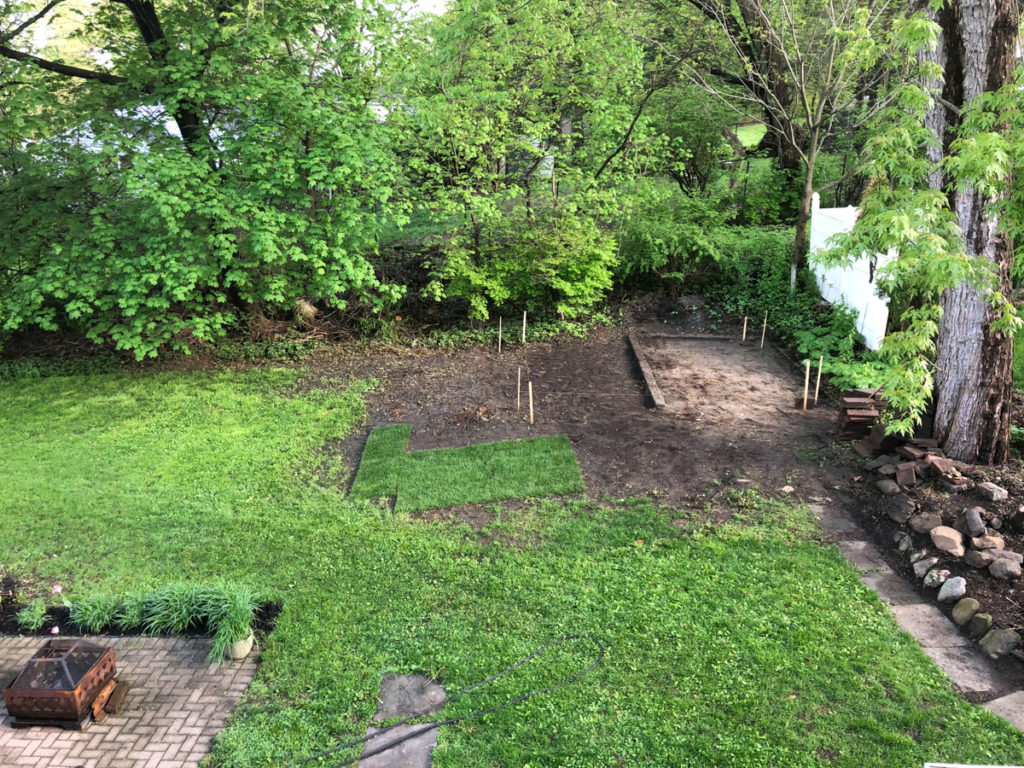
My first experience building a retaining wall… well my first time doing any of this. Karla took some time away from her studies to help me with the wall. That was exciting, because after a month of spending a couple hours after work to clear the land by hand, I can finally see the footprint of the shed!

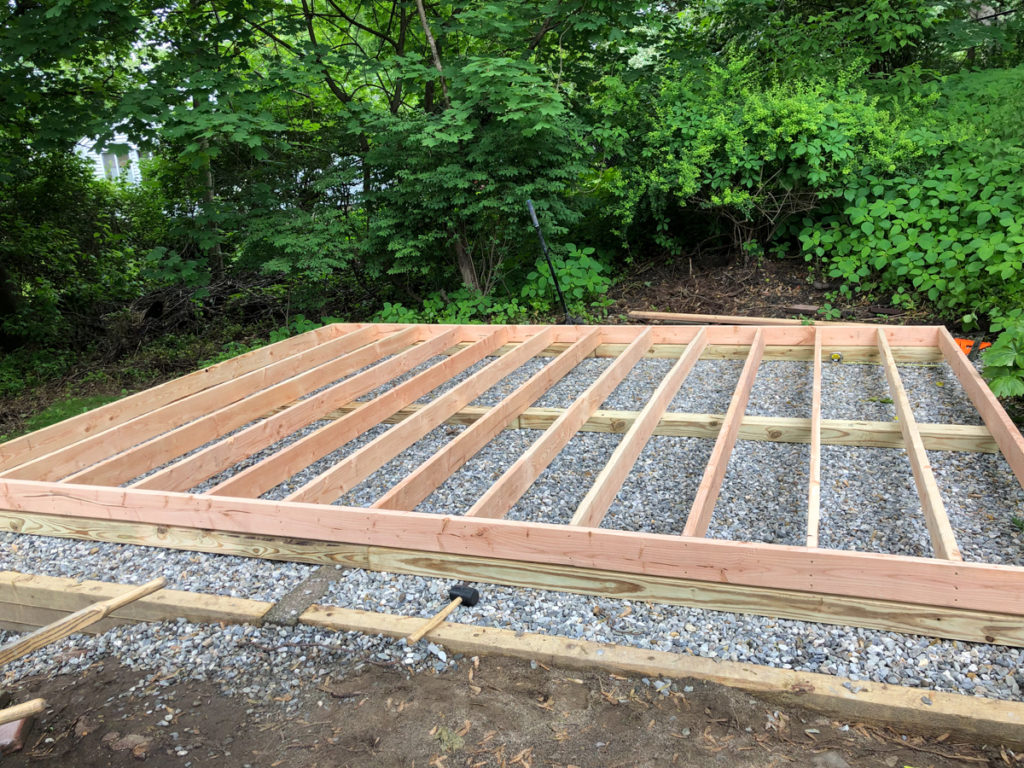
Now time for the gravel. Holy gravel, we ended up having to order 5 yards total. And this time, it was 2 women, 2 shovels, and one wheel barrow to get every last bit of it in the area. We also rented a compacter to get it nicely level and compacted.


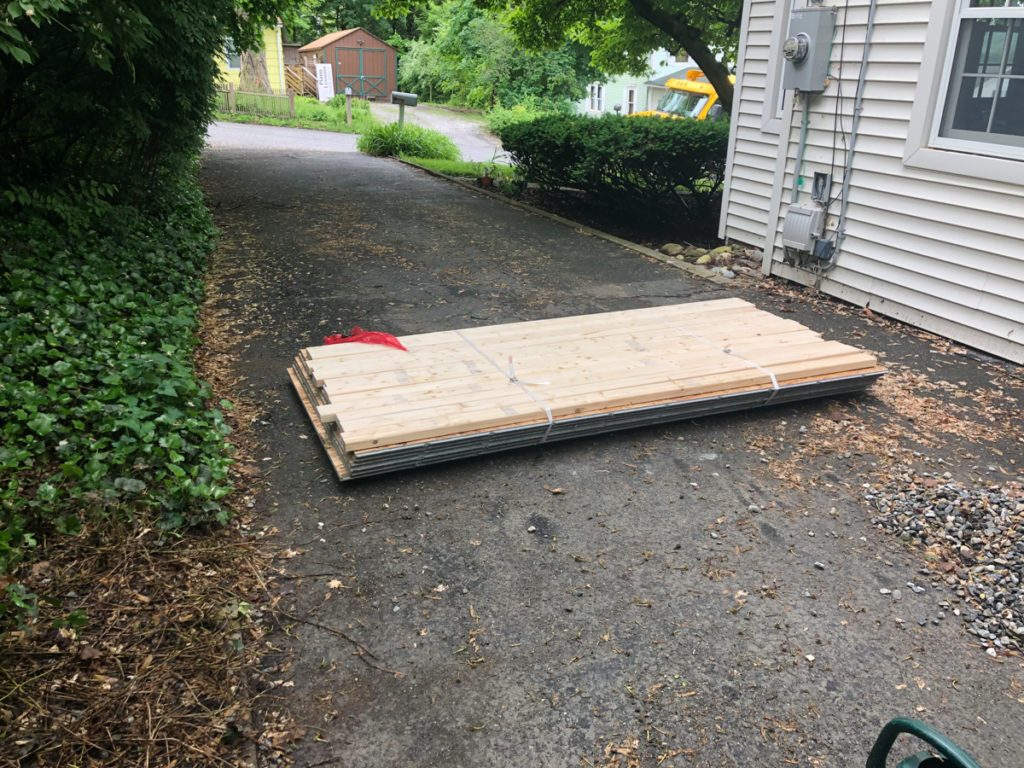
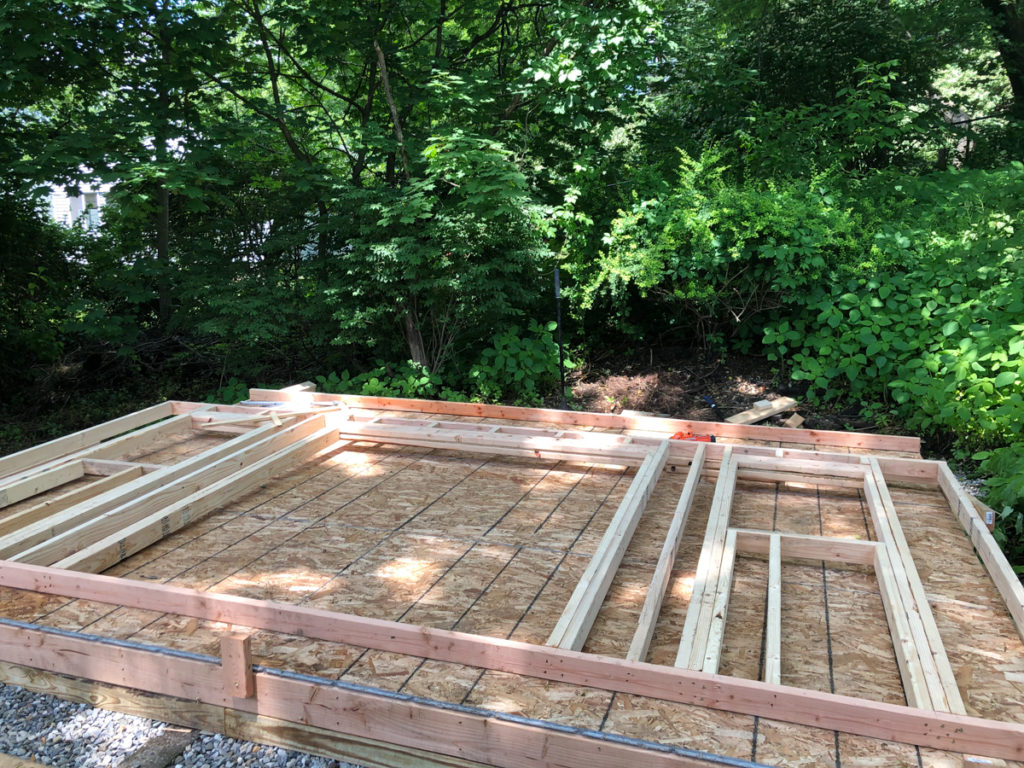
Now the fun begins. I looked online for shed plans, our house is a 1930 colonial, so we decided to keep the shed more traditional. I found some plans on iCreatables, sold! Memorial Day weekend rolled around and that’s when I was able to get started on the build. Had a lot of wood delivered from Home Depot.

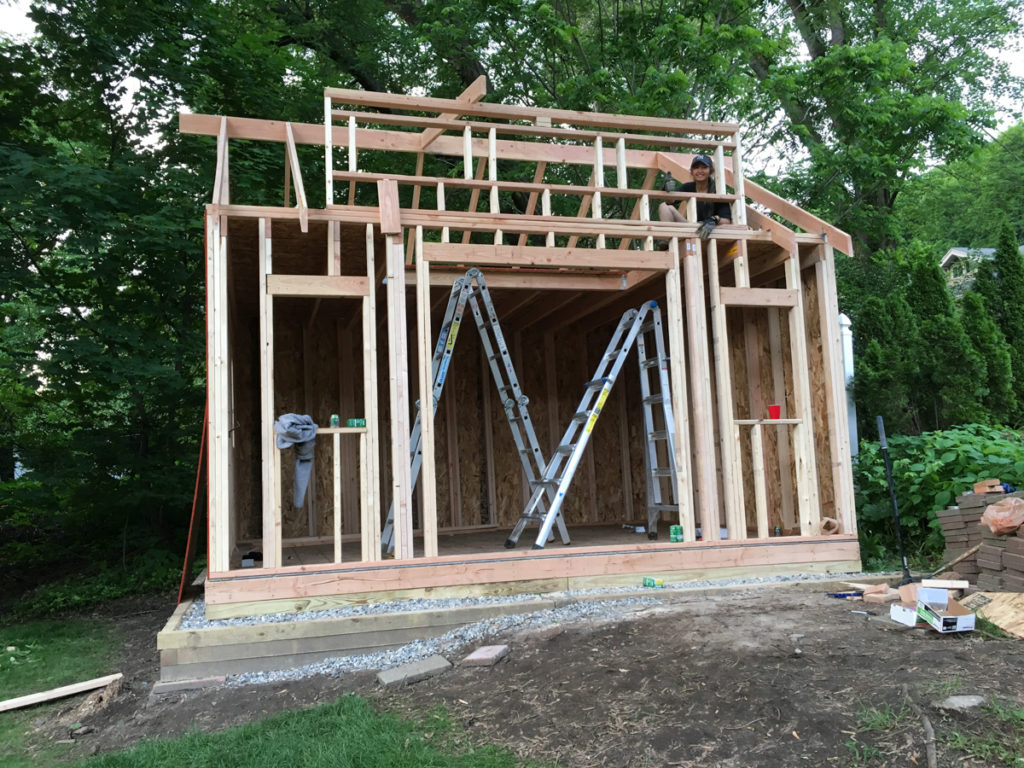
Framed the floor, that was a lot of work. Framed a wall, and realized it was damn hard to lift the wall by myself. Then had to pause because it rained (it rained a lot during the build). I called on my brothers for help and my big brother came through! We were able to frame out the walls of the shed in a days work. That’s when I realized, damn, this thing is big! Better than thinking oh no, it’s too small.


On the second day, I had two of my brothers helping so we were able to build the loft and sheath most of the shed, and get started on the roof.
The roof was the most difficult part. The rafters were attached to a ridge board, I had to learn about roof pitch, angles, seat cuts and bird’s mouth… yes I had to redo the rafters a few times…


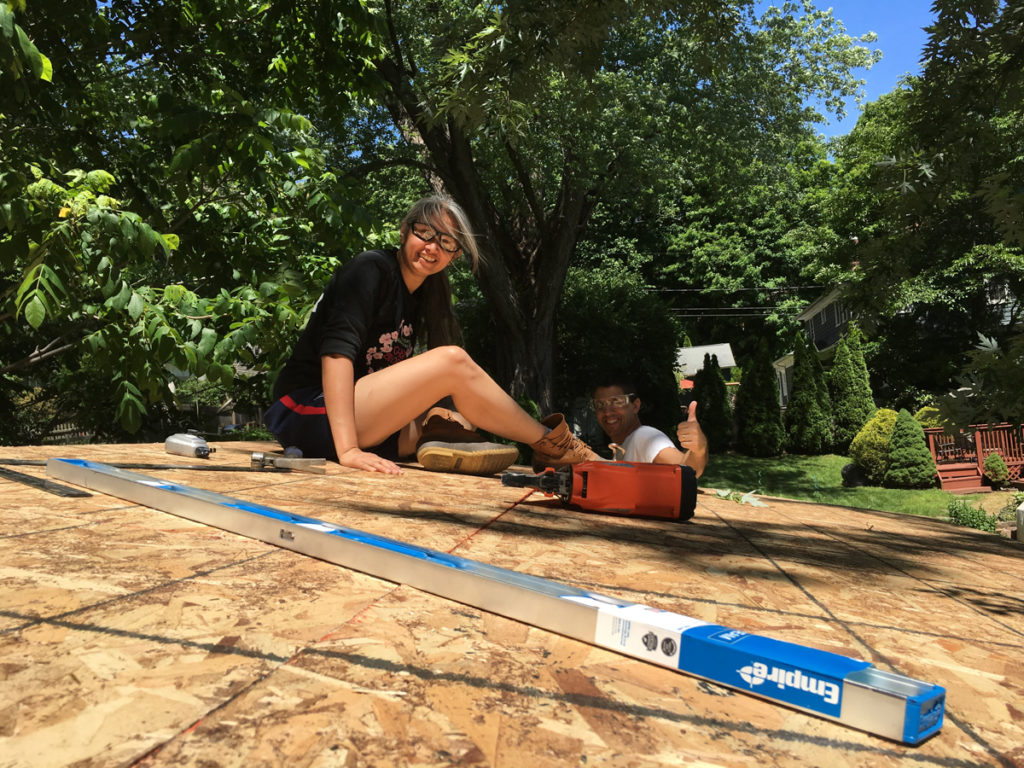
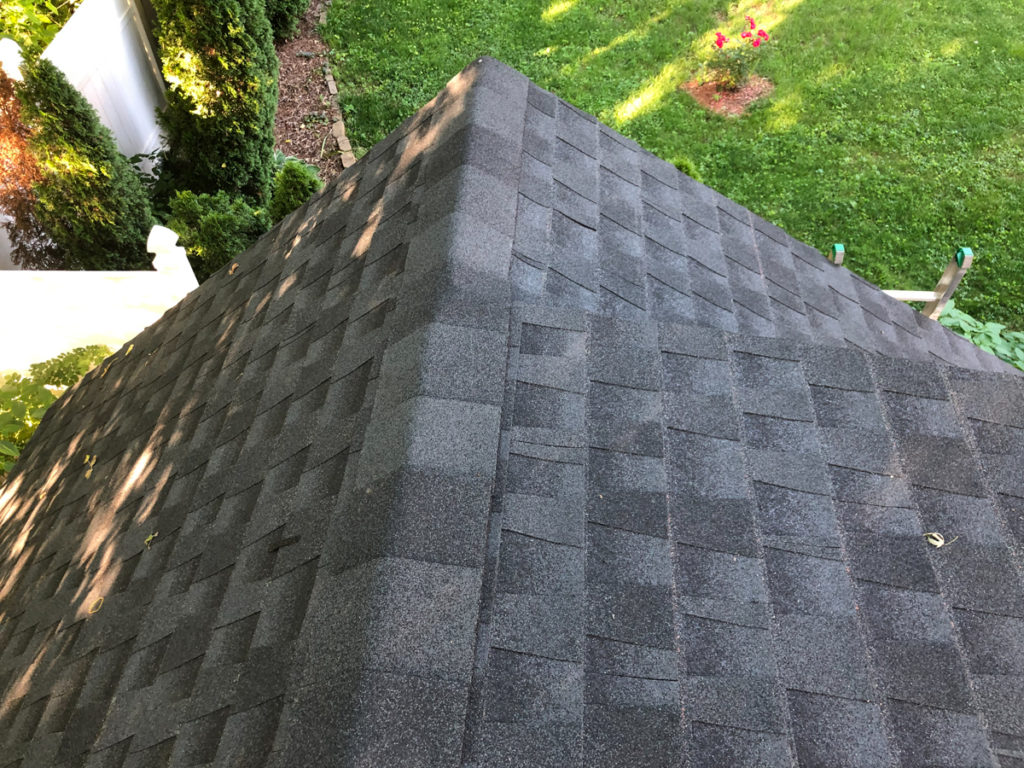
It was finally in place we could securely sheath the roof. My neighbor came to help this time, apparently he really likes doing roofs!
It rained, a lot, took a couple of weeks because of the weather delay, but we finally got the roof done. And hey, it looks pretty good. Shingling the roof was fun, being on the roof, eh, not so much at times. Luckily there is this big maple that provided some shade relief. Also roof brackets help since the pitch was on the steep side.
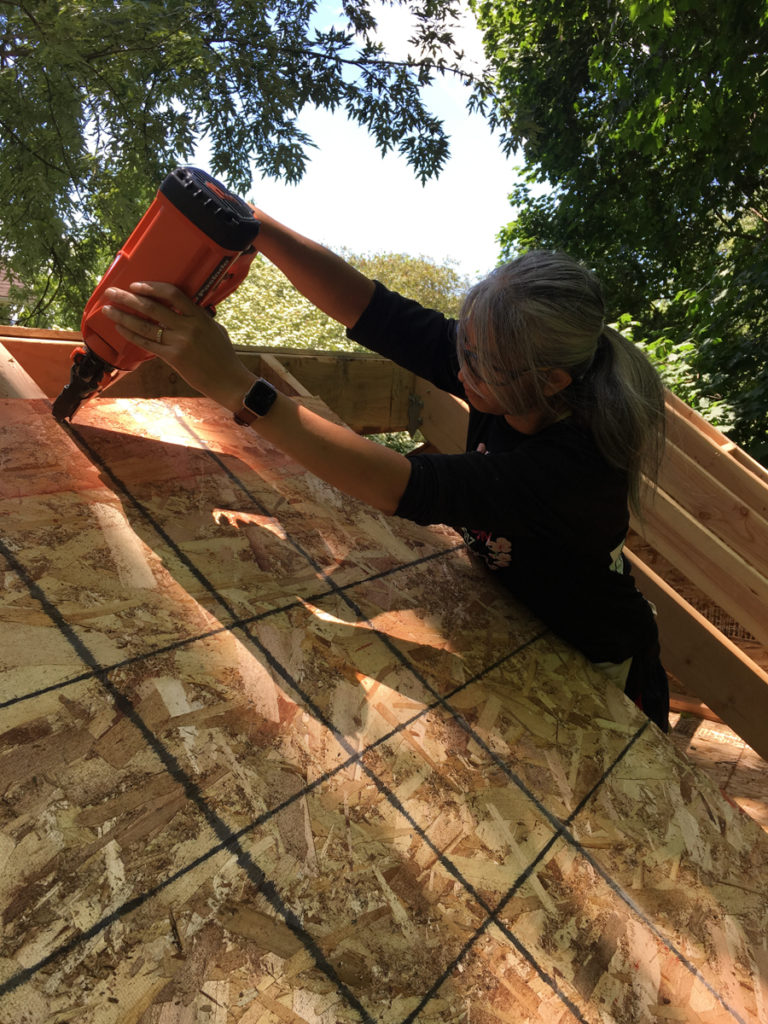

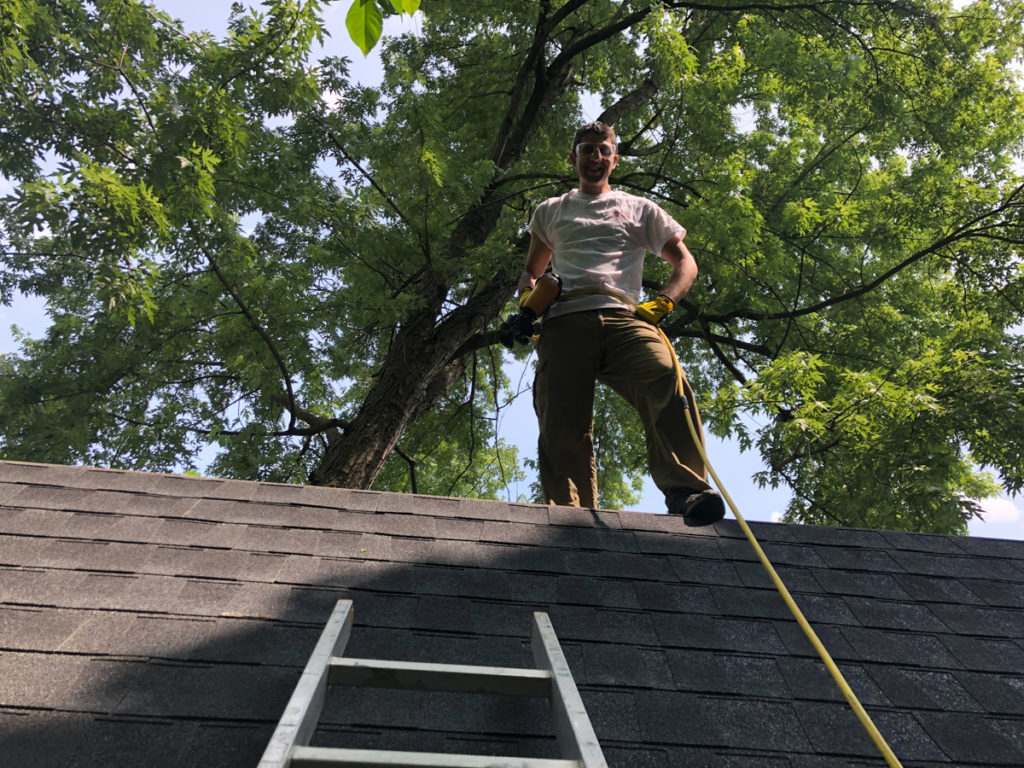

I ended up buying all kinds of nailers for this shed project. A framing nailer, roofing nailer, siding nailer, palm nailer, brad nailers, staple nailers. All extremely useful tools, some really loud, but lots of fun to use… and will I be using it again? Gosh I hope so, they were’t cheap. What was I thinking?
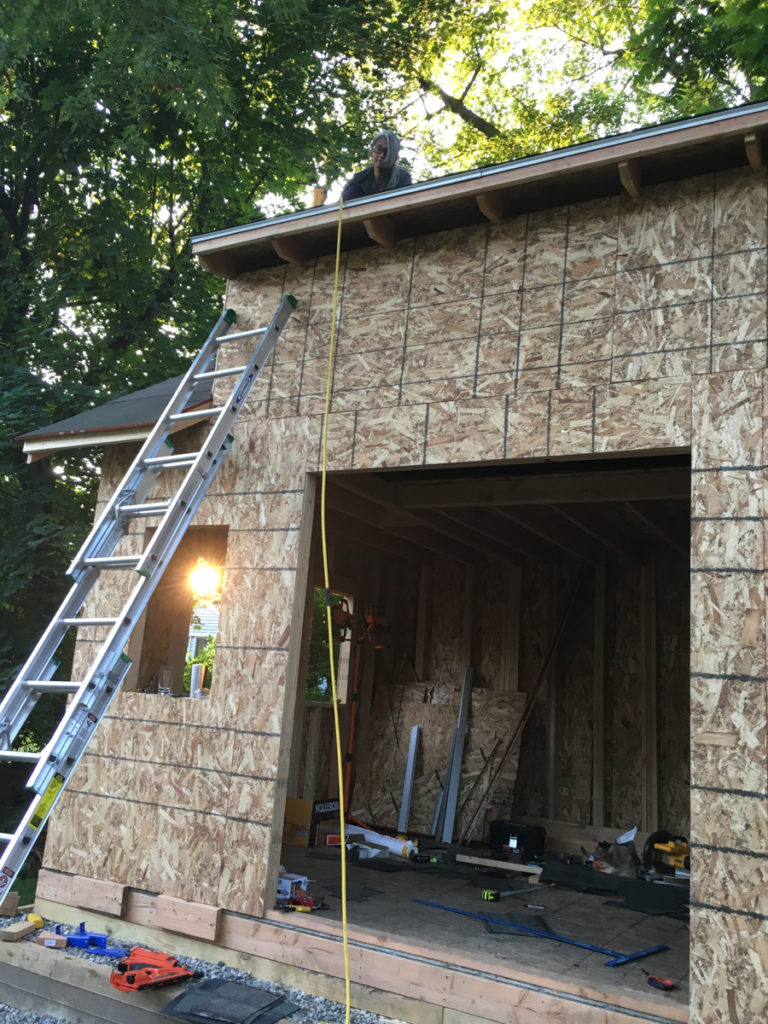
Windows, trim, siding and doors are next! I decided to Tyvek the thing. A bit overkill for the shed, but I’ve gotten this far. As for windows, I had 8 total. Karla helped me put them in, it was nice to have a second person on the other side to shim for you when trying to level.


For the siding, I decided to go with LP Lap Siding, because they were available at Lowes and seemed easy to work with. It was pretty nice stuff. Using the Gecko clamps that I purchased online, my neighbor and I were able to put it up fairly fast.
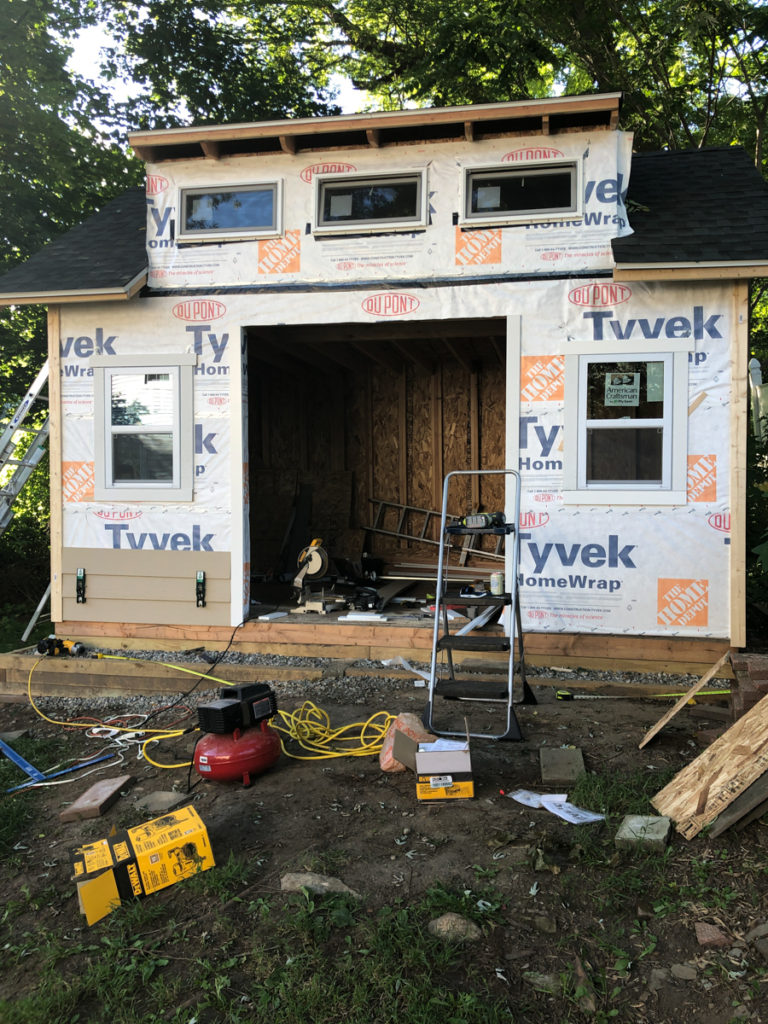
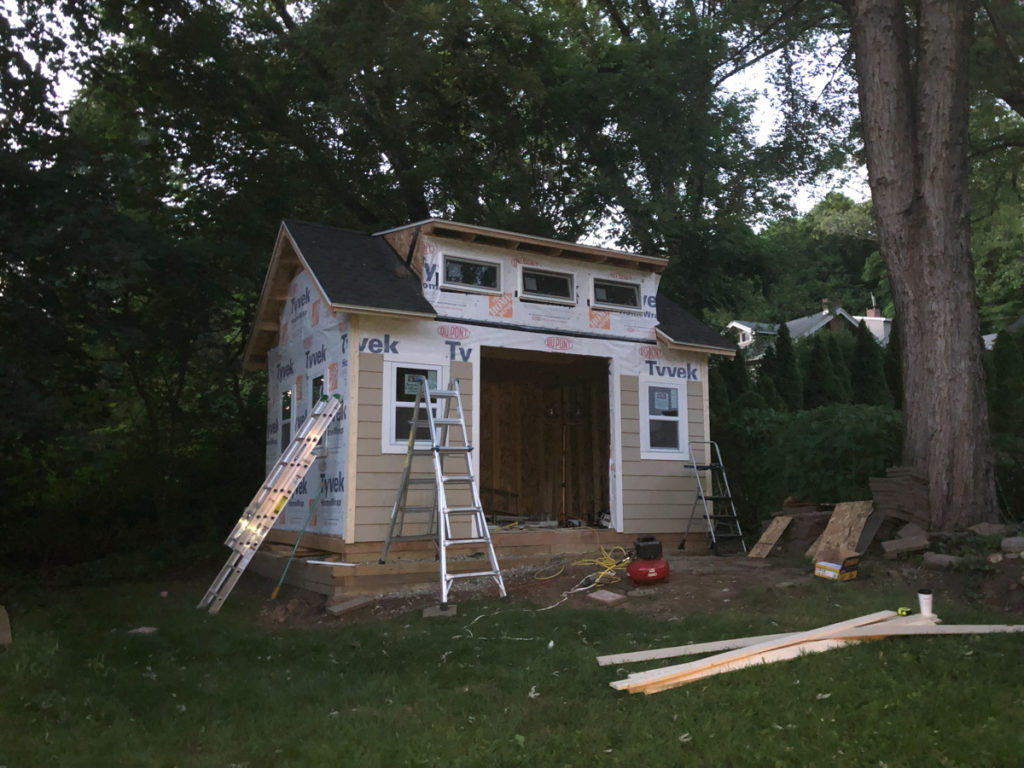

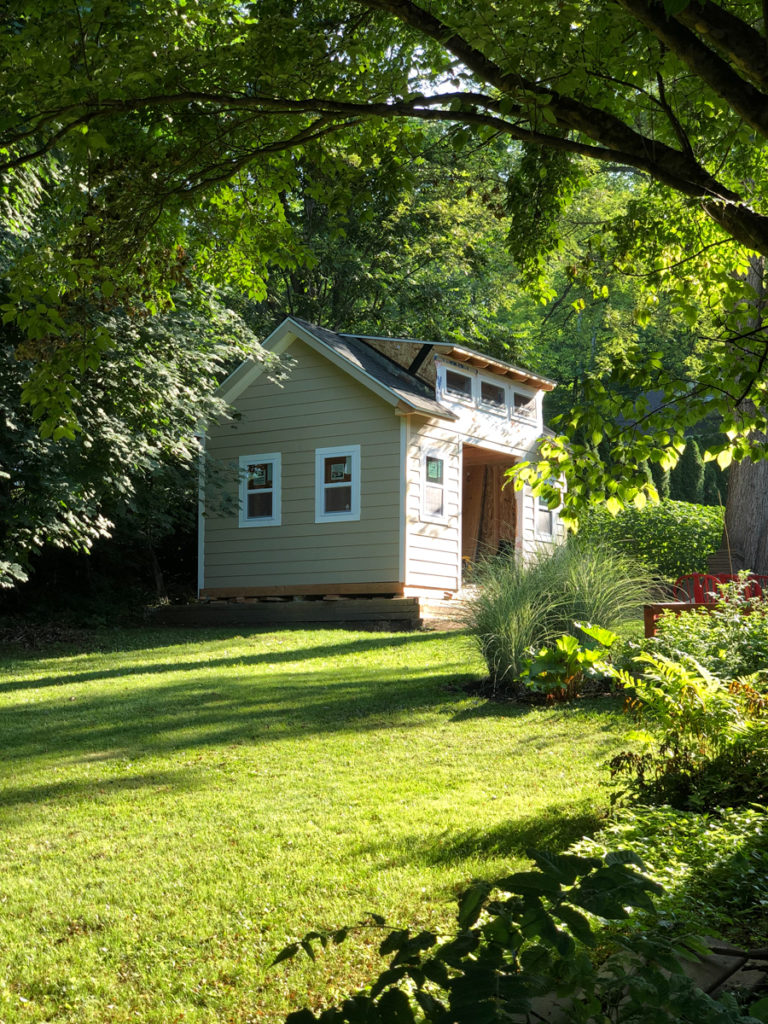
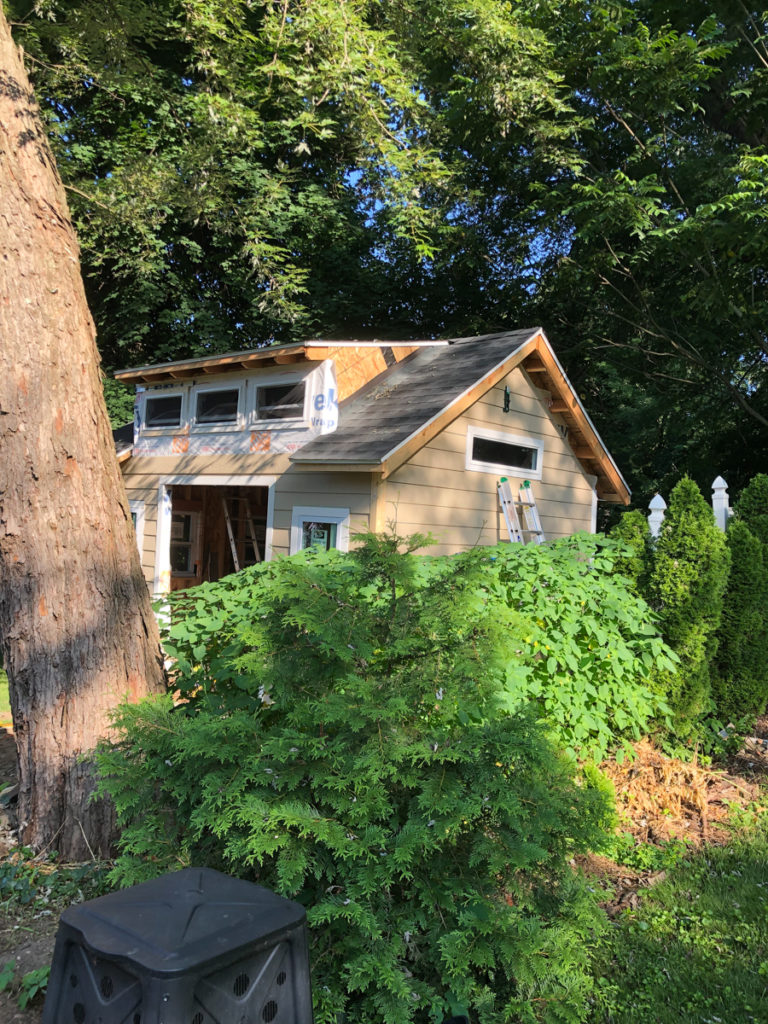
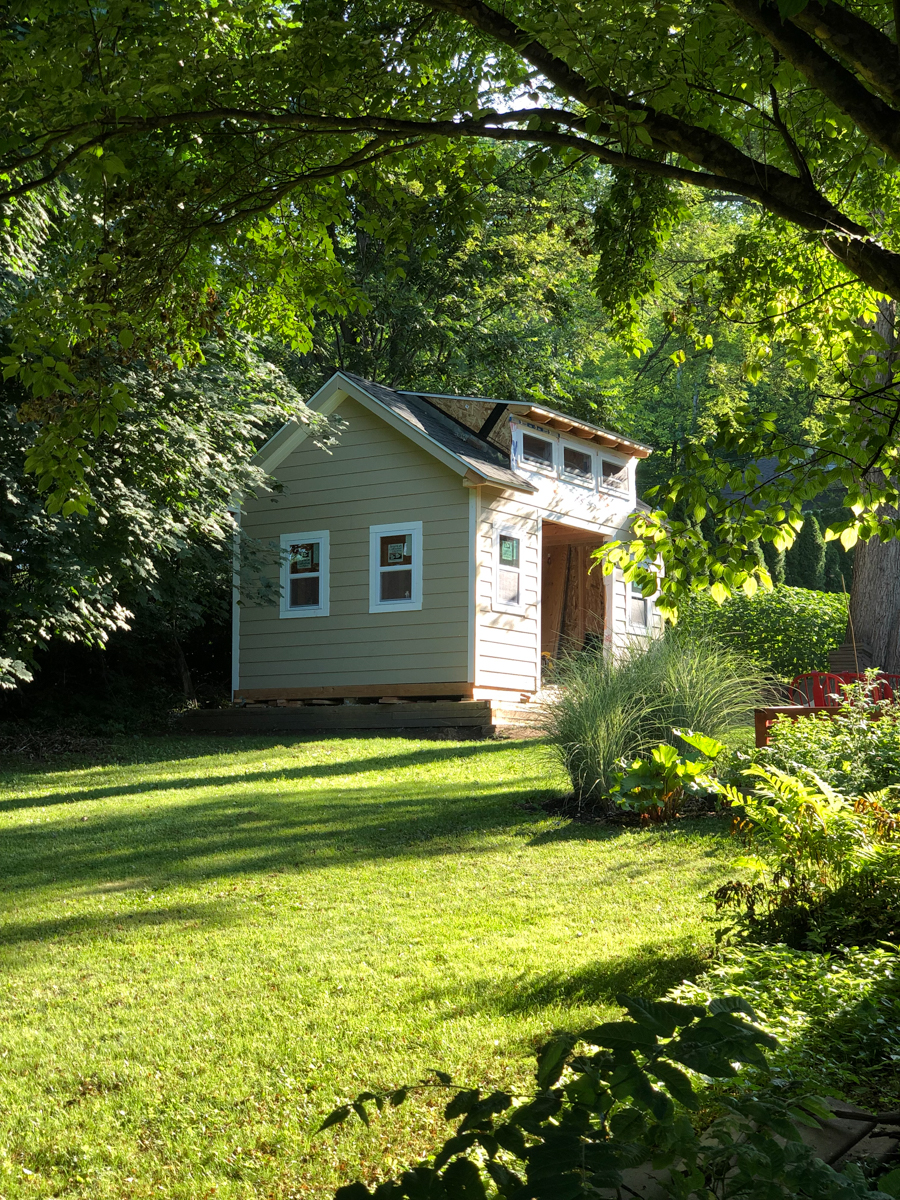
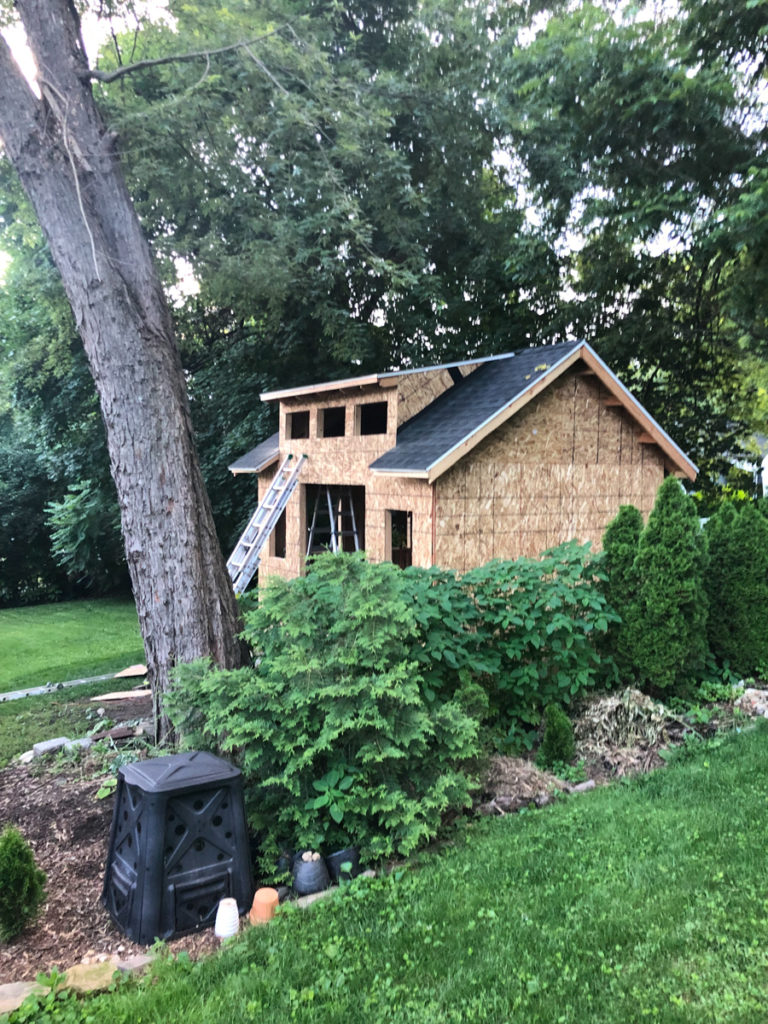
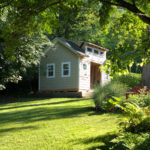
And that’s where we are now. I still have to finish the siding, soffit the eaves, finish off trim, build the door, caulk (a lot of caulking) and finally paint. It’s been a great and challenging experience. I definitely learned a a lot from this and messed up a ton of things while cutting corners in several areas that I hope won’t cost me too much down the line, such as leaving the front rafters to finish off the roof in front of the dormer, but I don’t mind how it looks.
I’m proud that it has gotten this far. It was a time consuming and kind of costly project, but enjoyed every minute of building it. I’m extremely thankful for my brothers who brought some of their muscle to do the heavy lifting, my neighbor/friend Fernando, who has been there almost everyday after work to remind me that winter is coming and helping me finish the shed, and Karla, for tolerating the mess and lending a helping hand when she can.


Join the conversation